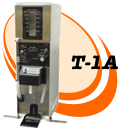
TAIJI Sake Warmers
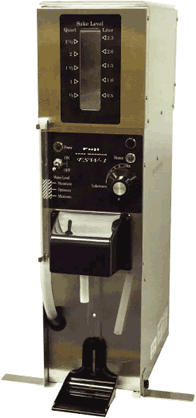
MODEL: FSW T-1A
Best suited for smaller restaurants and for states with regulations for alcohol beverage dispensing machines
| UNIT FEATURES and CHART | |
|---|---|
| High Points | - Convenient to load - Ideal for occasional orders of sake - Best suited for placement in bars - Uses all brands of sake |
| Dispensing Speed | Medium |
| Sake Loading Method | Refillable tank (Lid included) |
*Alternative sake holding containers option available, please contact us. |
|
| SPECIFICATION | |
|---|---|
| Model | FSW T-1A |
| Voltage | Single Phase 120V/60Hz |
| Watts | 450W |
| Dry Weight | 15lbs |
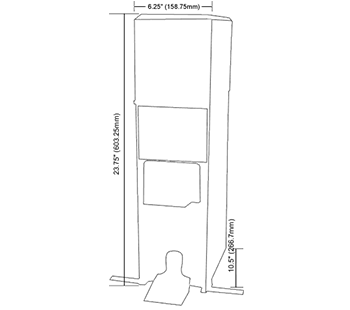
| Dimensions | W6.25" x D10.5" x H23.75" (W158.75 x D266.7 x H603.25mm) |
| Sake Supply Capacity | 95gal/3.75L internal holding tank |
*Price includes one year limited warranty. Tax applies only to purchasers within the states of CA and IL. *For more information, please contact us. |
|
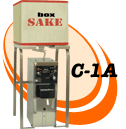
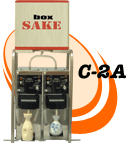
| MAINTENANCE |
|---|
Daily CleaningModels C-1A & C-2A: 1.Close the spigot of the cubic container. Wash sake server holder with hot water.·A small amount of cleaning water may remain in the system. At the beginning of the next operating session, pour out a small amount of sake. Discard or use this sake for cooking. Main Unit:Wipe with dry or tightly-wrung wet cloth. Never use any solvent such as thinner or benzene. Care of the Nozzle (Fig. 11)Clean the nozzle one or twice, or even more, each month. 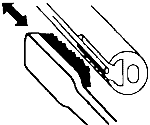 Fig.11 Water Bath TankReplace the water in the water bath tank at least once a month. |